The Blacksmith's Smithy: Essential Tools for the Aspiring Artisan
In the heart of every smithy lies a treasure trove of tools and equipment
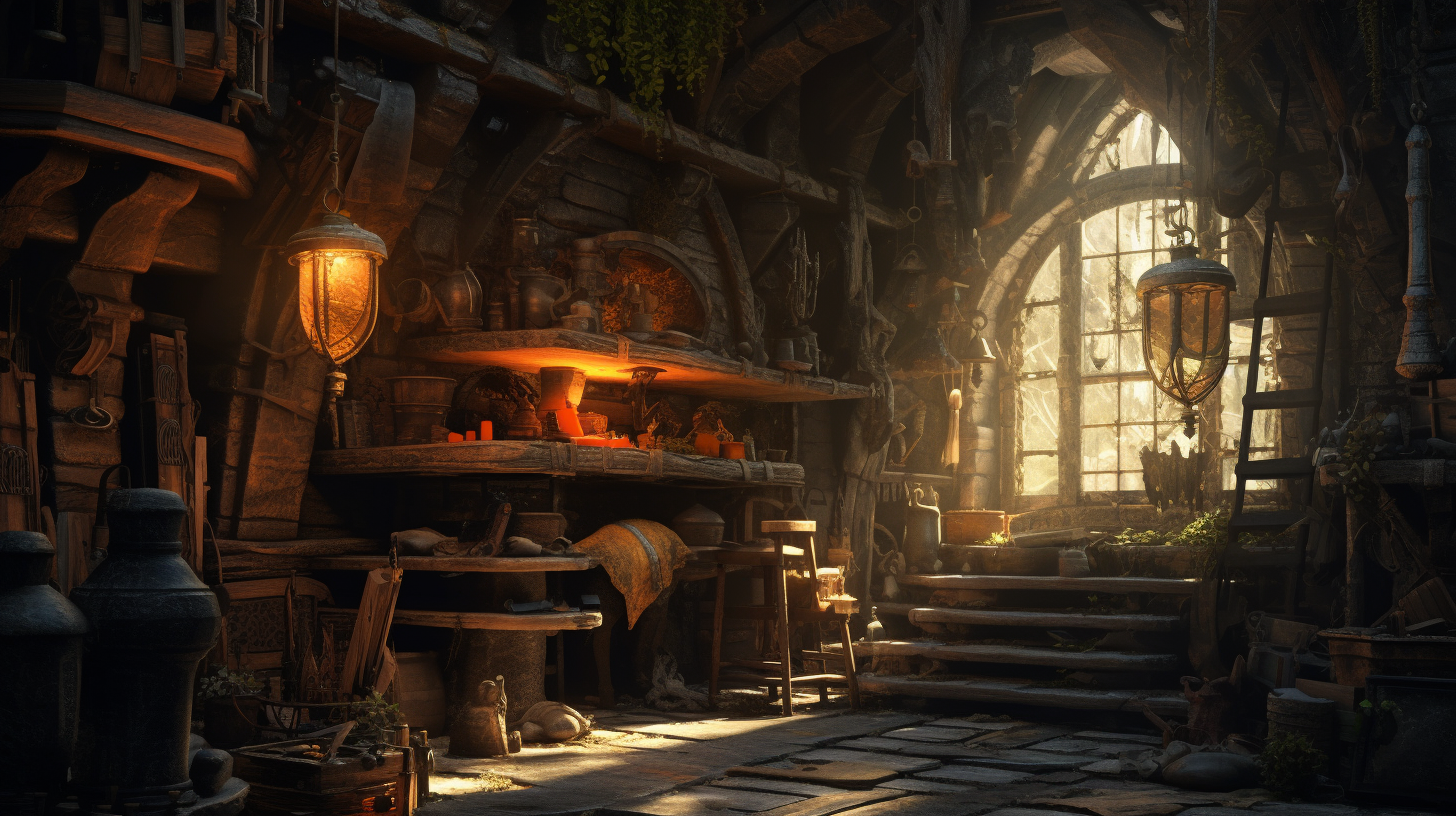
In the heart of every smithy lies a treasure trove of tools and equipment, each serving a unique and vital purpose in the process of transforming raw metal into objects of strength, beauty, and utility. As you embark on your own journey into the world of blacksmithing, it is essential to familiarize yourself with the instruments that will become the extensions of your own hands and the conduits through which your creativity will flow. As you forge your path, these tools will be your trusted allies, shaping your vision and bearing witness to your growth as an artisan. Join me, dear reader, as we delve into the world of blacksmithing tools, exploring their uses and uncovering the secrets that lie within the walls of the smithy.
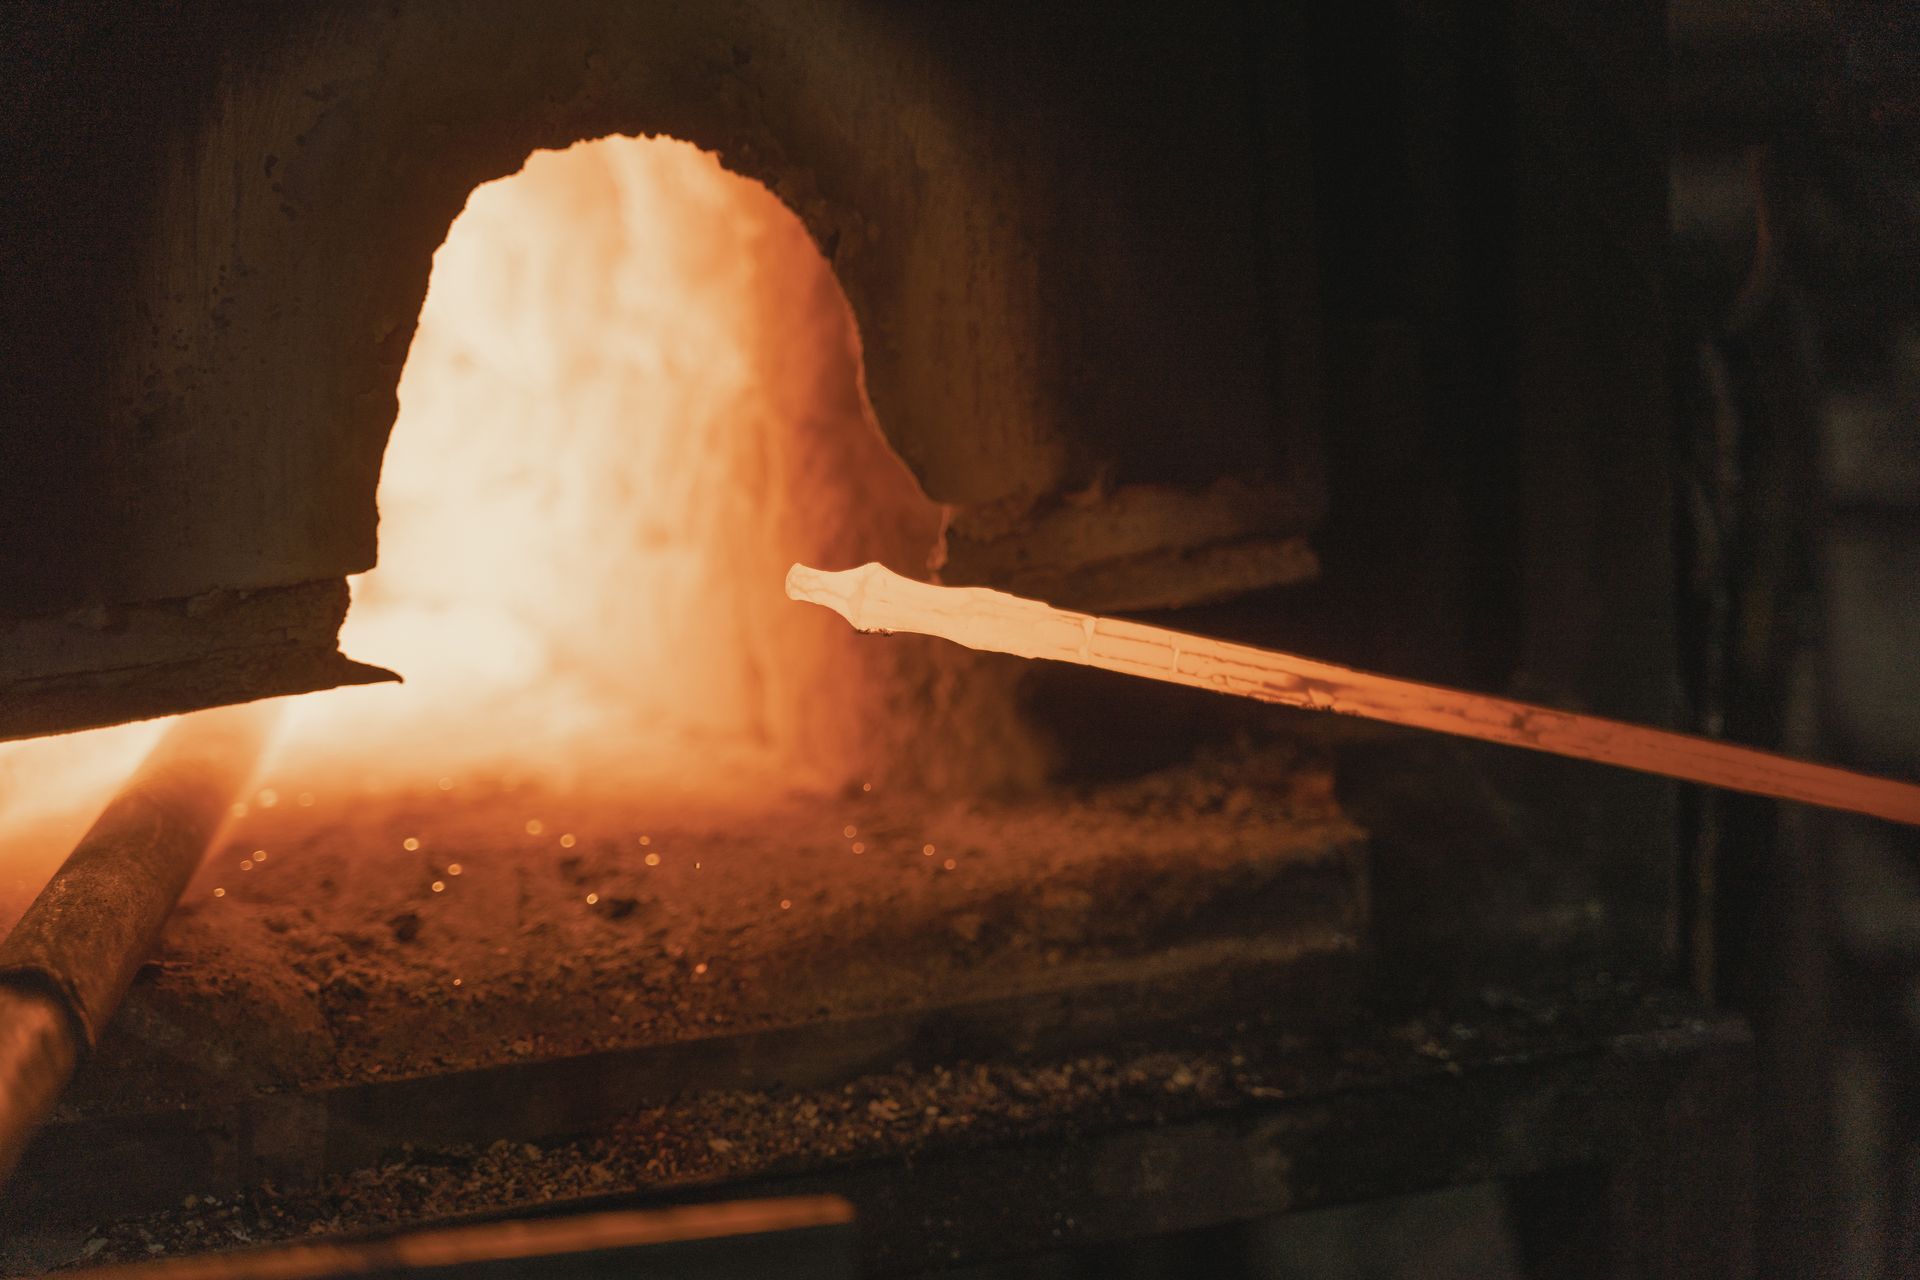
1. The Forge: The Heart of the Smithy
The forge is the very heart of the blacksmith's workshop, providing the intense heat required to make metal malleable and ready for shaping. Fueled by either coal, coke, charcoal, or gas, the forge must reach temperatures of over 2000°F (1093°C) to soften iron and steel effectively. As you begin your journey into blacksmithing, selecting the right forge for your needs will be a critical first step. Consider factors such as fuel type, size, and accessibility, as well as the specific projects you plan to undertake.
2. The Anvil: The Foundation on Which the Art is Built
The anvil serves as the sturdy foundation upon which the blacksmith plies their trade, providing a solid surface upon which to shape and manipulate metal. Typically made of cast or forged steel, the anvil is designed to withstand the repeated impact of hammer blows without deforming. The anvil's iconic shape, featuring a flat face, a horn for shaping curves, and a hardy hole for holding various tools, has been refined over centuries to facilitate a wide range of blacksmithing techniques. As with the forge, choosing the right anvil for your needs is crucial, taking into account factors such as size, weight, and material.
3. Hammers: The Blacksmith's Mighty Instruments
The hammer is the blacksmith's most versatile and essential tool, serving as the means by which the artisan imparts their will upon the metal. There is a wide variety of hammers available, each designed for specific tasks and techniques. Among the most common are the cross-peen, straight-peen, and ball-peen hammers, which are used for shaping, bending, and texturing metal. Sledgehammers and rounding hammers are employed for heavier work, while smaller, lighter hammers are ideal for more delicate tasks. As a novice blacksmith, building a collection of hammers suited to your needs will be an ongoing process, one that evolves as your skills and interests develop.
4. Tongs: The Blacksmith's Trusted Hand
Tongs are the blacksmith's trusted hand, providing a secure grip on hot metal and allowing the artisan to manipulate their work safely and effectively. Tongs come in many shapes and sizes, each designed to hold specific types of stock or perform particular tasks. Some common examples include wolf or star tongs, box tongs, and scrolling tongs. As with hammers, the aspiring blacksmith will gradually accumulate a collection of tongs suited to their needs and projects.
5. Chisels and Punches: The Artisan's Scribes
Chisels and punches are used to carve, cut, and shape metal with precision, enabling the blacksmith to add intricate details and textures to their creations. Chisels are employed for cutting and shaping hot metal, while punches are used to create holes, depressions, and other features in the workpiece.
6. Swage Blocks and Mandrels: The Sculptor's Canvas
Swage blocks and mandrels serve as complementary tools to the anvil, providing the blacksmith with a range of shapes and forms upon which to forge their creations. Swage blocks are large, heavy blocks of metal featuring an assortment of depressions, grooves, and channels that allow the artisan to bend, shape, and form metal into various contours and profiles. Mandrels are tapered cylindrical tools, used to create rounded shapes and curves in metalwork. Both tools are invaluable assets in any well-equipped smithy, expanding the range of possibilities and enhancing the blacksmith's creative potential.
7. Hardy Tools: The Smith's Arsenal
Hardy tools are a collection of specialized accessories that fit into the hardy hole of the anvil, extending the anvil's functionality and enabling the blacksmith to perform a wide array of tasks. Among the most common hardy tools are the hot cut, used for cutting hot metal; the bending fork, used for bending and shaping metal; and the fuller, used for creating grooves and decorative lines in the workpiece. As you progress in your blacksmithing journey, you will likely find yourself adding to your collection of hardy tools, customizing your anvil to suit your individual needs and preferences.
8. Files, Rasps, and Grinders: The Finishing Touch
Files, rasps, and grinders are essential tools for refining and finishing your forged creations. Files and rasps are used to remove excess material, smooth rough edges, and create fine details in the metal. Grinders, either hand-held or bench-mounted, are employed for cleaning, sharpening, and polishing the workpiece. Each tool plays a vital role in ensuring that your finished product meets the highest standards of quality and craftsmanship.
9. Safety Equipment: The Blacksmith's Shield
The art of blacksmithing, while inspiring and rewarding, also entails certain risks and hazards. As such, it is crucial to prioritize your safety by equipping yourself with the appropriate protective gear. Essential safety equipment includes heat-resistant gloves, safety glasses, ear protection, and a leather apron. Investing in high-quality safety gear will not only safeguard your well-being but also allow you to work with greater confidence and focus.
10. The Quenching Bucket: The Final Transformation
The quenching bucket is an often-overlooked yet vital component of the blacksmith's workshop. Filled with water or oil, the quenching bucket is used to rapidly cool and harden hot metal after it has been shaped and formed. The choice of quenching medium can significantly impact the final properties of the workpiece, with water resulting in a harder but potentially more brittle metal, while oil typically yields a more durable and flexible product. These properties can then be further refined by tempering the tool using heat.
As you begin your journey into the world of blacksmithing, remember that the tools you choose are not only the instruments of your craft but also the embodiment of your passion and commitment. Each tool has a story to tell, a lineage that traces back through the centuries, connecting you to the countless artisans who have come before. With each hammer blow, each bend, and each cut, you are forging your own place in this storied tradition, adding your voice to the symphony of the smithy.
Embrace the challenges and triumphs that await you, and never forget that the true power of blacksmithing lies not only in the tools you wield but in the spirit and determination that burns within your heart. With perseverance, patience, and passion, the world of blacksmithing will open its doors to you, revealing a realm of limitless possibilities and boundless creativity.
Share